Annual Report Submission
Annual Report Submission
You need to be logged in to the DMS to perform any of these tasks.
Annual Report Submission
- After logging in to DMS click the "Begin a New Document" link on the right side of the Welcome screen.
- From the Document Type drop-down menu, select "Annual Training Program Report".
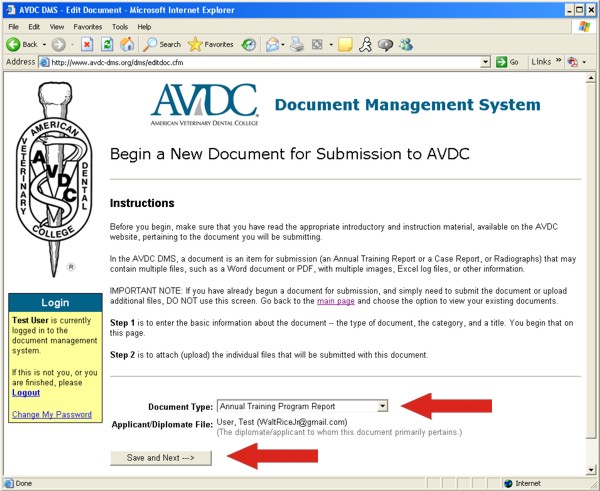
- Click "Save and Next", which brings up the screen on which you select which files to submit in your Annual Report document.
- To attach your files, click "Attach Multiple Files" (on the menu line at the top of the screen).

- The Attach/Upload Multiple Files screen appears and, after a moment, a window requesting permission to use the Attach Multiple File applet appears; click "YES".
- Then click + Add.

- A window appears listing the drives available on your computer; browse to the folder that contains the files to be included with your application.
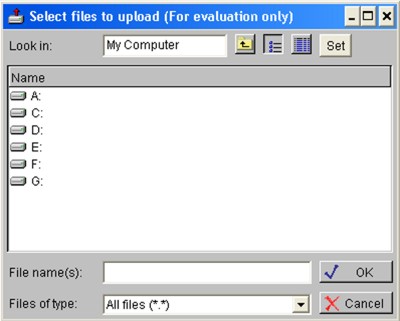
- Highlight the files to be included (either click each file individually while holding down the Control key, or click the file at the top of the list then click the file at the bottom of the list while holding down the Shift key).
- When the files you want to upload are all highlighted, click the "OK" button.
- Alternatively, you may drag and drop the files to be uploaded on the upload applet.

- Click the "Attach File(s)" button on the bottom left of the screen to confirm selection of the files.
- Click Upload in the window that appears, then allow time for the files to be uploaded.
- Be patient when you are uploading your Annual Report document to DMS – it may take a minute or two.
- When the file up-loading process is completed, the Annual Training Program Report screen re-appears
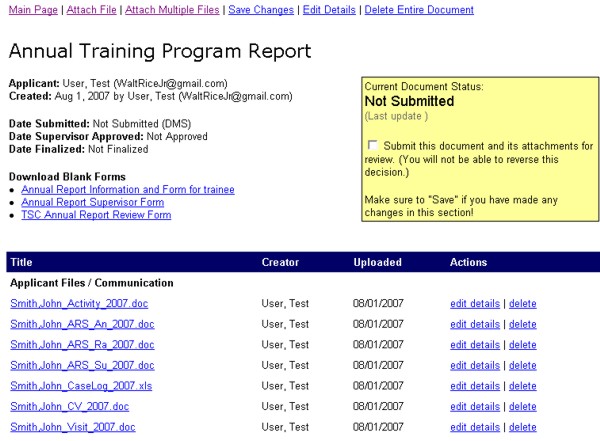
- If you want to be sure that the files have uploaded correctly to DMS, click the individual file name in the list at the bottom of the screen to open it.
- You can delete individual files by clicking "delete" to the right of the file name.
- You can attach additional files as necessary.
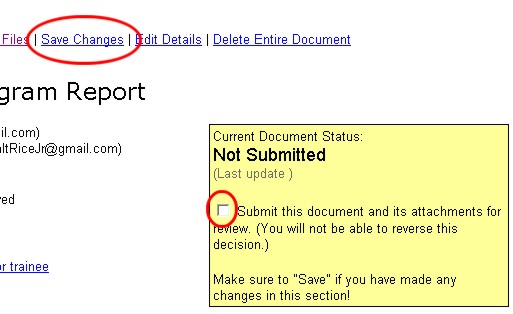
- When the package is complete to your satisfaction, check the Submit this document box in the yellow panel on the right of the screen ( a check mark appears in the box).
- And then (VERY IMPORTANT!) click Save Changes in the menu line at the top of the screen.
For Further Information
- The next screen shows the submitted document with the submission date and with the attached files listed at the bottom of the screen, ensuring you that the document submission process has been successfully completed.
- The View Existing Documents link on the right of the Welcome screen allows you to check your documents whenever you wish to – just click on the individual document name. When your supervisor has submitted his or her Supervisor’s Report, the Document screen indicates the date on which it was submitted.